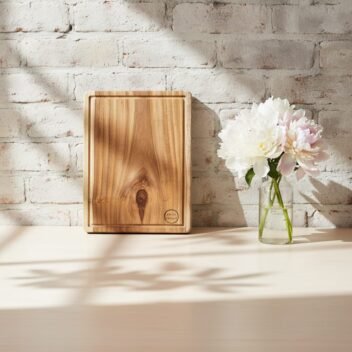
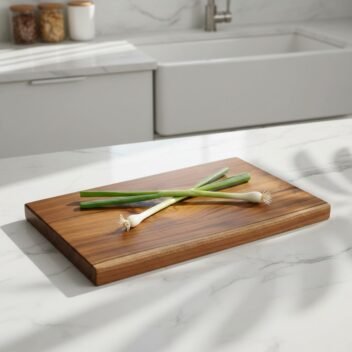
Single Block Teak Wood Chopping Board – Rectangular Edge Grain Cutting Board
Price range: ₹999.00 through ₹4,499.00Premium Single Block Teak Wood Chopping Board Small
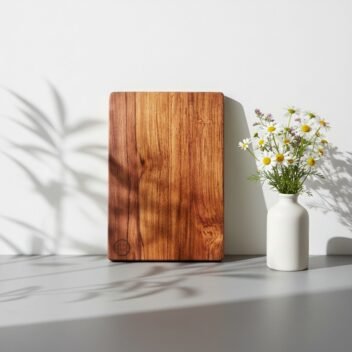
Original price was: ₹1,999.00.₹998.00Current price is: ₹998.00.Premium Single Block PuliMutti -Tamarind Wood Chopping Board – P101
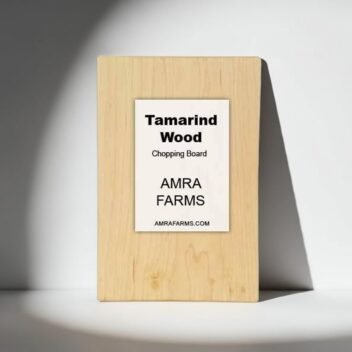
Price range: ₹999.00 through ₹1,499.00Amra Farms Tamarind Wood Butcher Block : Single Block Cutting Board
Price range: ₹799.00 through ₹1,499.00Thin Blank Teak Wood Vegetable Cutting Board
Price range: ₹1,499.00 through ₹4,999.00Single Block Neem Wood Chopping Board
Original price was: ₹1,999.00.₹1,798.10Current price is: ₹1,798.10.Teak Wood Wedge Door Stopper – Handcrafted Elegance for Everyday Use
Original price was: ₹989.01.₹889.11Current price is: ₹889.11.2 Inch Rectangular Thick Teak Wood Chopping Board
Original price was: ₹4,999.00.₹4,498.10Current price is: ₹4,498.10.Single Block Square Wooden chopping board – Teak wood
Price range: ₹1,499.00 through ₹1,999.00
A wooden chopping board is an investment to most people who own it. They are more a piece of art for your kitchen than a utility or an accessory for just chopping. It’s a personality in itself. Maintaining a wooden chopping board is part of the whole process of owning a wooden cutting board. A good wooden cutting board, no matter the type of construction, single block edge grain, end grain chequered design or a joint wood cutting board, they all have a story to tell. Keeping that story alive involves maintaining your cutting board.
The big part and the most regular one is oiling your cutting board. Oftentimes we tend to believe that oiling is just needed when the board is dry. The truth though is that oiling a cutting board is more like a routine which requires discipline. A good cutting board looks good because you oil the board. It helps prevent stains, reduce water retention, repel moisture and keep the board from splitting, cracking and warping in the long run.
For people who know their wood, they know how important the wood is and how crucial it is to oil them regularly. There is no confusion about whether you should oil your board on one side or on both.
Why Oiling a Wood Cutting Board is Important
The process of oiling a wooden chopping board is not about aesthetics but performance and increasing the longevity of your wooden chopping board. Wood contains a small percentage of natural oil.Wood like teak is rich in oil compared to other woods. Some woods are better than others. With frequent washing of the boards, the oil content is stripped away. This decreases the luster of the wood and also makes it susceptible to mold and fungal attacks. Oiling the board improves the life of the board while preventing mold and fungus.
Oil effectively repels water. With lesser water absorption, the fiber in the wood is nourished and flexible reducing the chances of splits and cracks. This directly improves the durability of the wood too.
And of course, there is the factor of aesthetics. Dry wooden boards look bad. There is no shine to it and the natural color of the wood is not evident. With oiling you see the grains more prominently adding beauty to not just the wooden chopping board but to your kitchen too.
Oil simply creates a protective layer on your board. Simply said, the oil guards your board from excessive water and moisture absorption to enhance the life of your wooden chopping board. It also improves the hygiene of the wood as a bonus.
Do You Need to Oil Both Sides?
You only use one side of the board. What’s the need to oil the entire board? The board is oiled not just for hygiene but for durability too. When you wash the board, the board comes in contact with water from all sides. With oiling you ensure that the water does not seep in deep. Oiling the board on both sides and even the edges, you ensure there is minimal water absorption. Wood will absorb a small amount of water nevertheless. Oiling the board reduces the water absorption into the wood, keeping the wood in its best shape for long. The simple answer is, yes, you need to oil both sides of the wooden chopping board. And also the edges.
Oiling the board on both sides prevents any chance of water absorption resulting in splits, cracks and warping problems.
Short answer: Yes, both sides should be oiled.
How to Oil a Cutting Board Correctly
Oiling in the beginning feels like a ritual but follow the steps to ensure your board looks good and hygienic.
- Clean the board: Clean the board thoroughly. Scrape off all food particles stuck to the wood. Wash with a mild soap and wipe it with a towel. Air dry it for at least an hour and if needed more. Do not put your wooden boards in a dishwasher. Wooden boards are not dishwasher safe. Be sure to double-check there are no food particles stuck to the board.
- Dry the board thoroughly: Ensure that the board is dry and you don’t feel any moisture when you run your hands through the board. Oiling the board when it’s moist will trap the moisture in the board. This will make the oil rancid if you are using cooking oil. Moisture in the board gives rise to fungal growth and mold. While drying is important, keep the board in shade and do not sun-dry the board or heat the board.
- Oil the board thoroughly: Ensure both sides of the board are covered with oil. Also oil the sides and the corners. The board should feel oily and shiny. When you touch the board, the oil should transfer to your hand. Do not worry, the wood will soak in the extra oil. Leave the board upright overnight. This ensures the board will have time to soak in the oil. The next day, wipe off the extra oil with a dry cloth.
- Wash before use: When you are ready to use the board, wash the board once with mild soap prior to first use after oiling. This ensures the smell and taste of oil do not transfer to your food.
Tip: Always wet your board prior to cutting any vegetables, fruit or meat to restrict stain and odor transfer from board to food and vice versa. The thin layer of water acts as a film reducing stains on the board and also transferring the smell of the board and oil to the food.
How much oil is required to oil a board:
he oiling is often heavy and will continue for a week or two for the board. This is because most wooden boards are dry during the first few days. Each wood has its own oil content and will soak in according to wood type. For instance, Mango wood boards are thirsty. They will soak in approximately 3–4 tablespoons of oil per application in the first week for a medium-sized board. Tamarind is denser but still a thirsty board. They will require 2 tablespoons of oil while teak is dense and oil-rich and may require just over 1 tablespoon of oil per application.
Common Mistakes to Avoid
If you have not used a wooden chopping board previously, it may be confusing and often daunting with all the maintenance procedures of a wooden cutting board. There are times we all go wrong too, even those who have owned a wooden chopping board for years. Here are some of the common mistakes most chopping board users commit.
- Oiling only one side. A wooden chopping board is to be oiled on all sides and even the edges. Some of us believe that the food comes in contact with the upper surface only and the oiling is required only on the top. This is not true. Oiling the board is not just for aesthetics or food safety but also to enhance the life of the board. You should oil the board completely.
- Using the wrong type of oil (vegetable oils can go rancid). Not all oils are equal. We recommend fractionated coconut oil but regular coconut oil works just fine as long as your board is used regularly. Do not use mustard oil or sesame oil. You should not use any oil that can turn rancid either. Olive oil, for instance, becomes rancid very fast. To be safe use mineral oil or coconut oil only. Any oil that is pungent or releases odor is not recommended either. Castor oil tends to get sticky. Though antibacterial, castor oil is not recommended due to its tackiness. To be safe only use mineral oil or coconut oil. Other options are linseed oil.
- Not letting the board dry completely before oiling. Oiling the board when it’s wet will trap moisture inside. The moisture trapped between the board and the oil layer will either turn the oil rancid releasing odor and often creating a layer of fungus or mold. Ensure your board is thoroughly dry before oiling them. This ensures your board is non-contaminated and repels mold.
How Often Should You Oil Both Sides?
All wooden chopping boards should be oiled once every 2 days for the first week followed by once a week for a month after the first week. Once your boards are one month old, you should oil them at least once a month or when the board feels dry. You should oil your boards on both sides whenever you oil it. You may require lesser oil on the bottom of the board, but you will still need to oil the board on both sides whenever you oil the board.
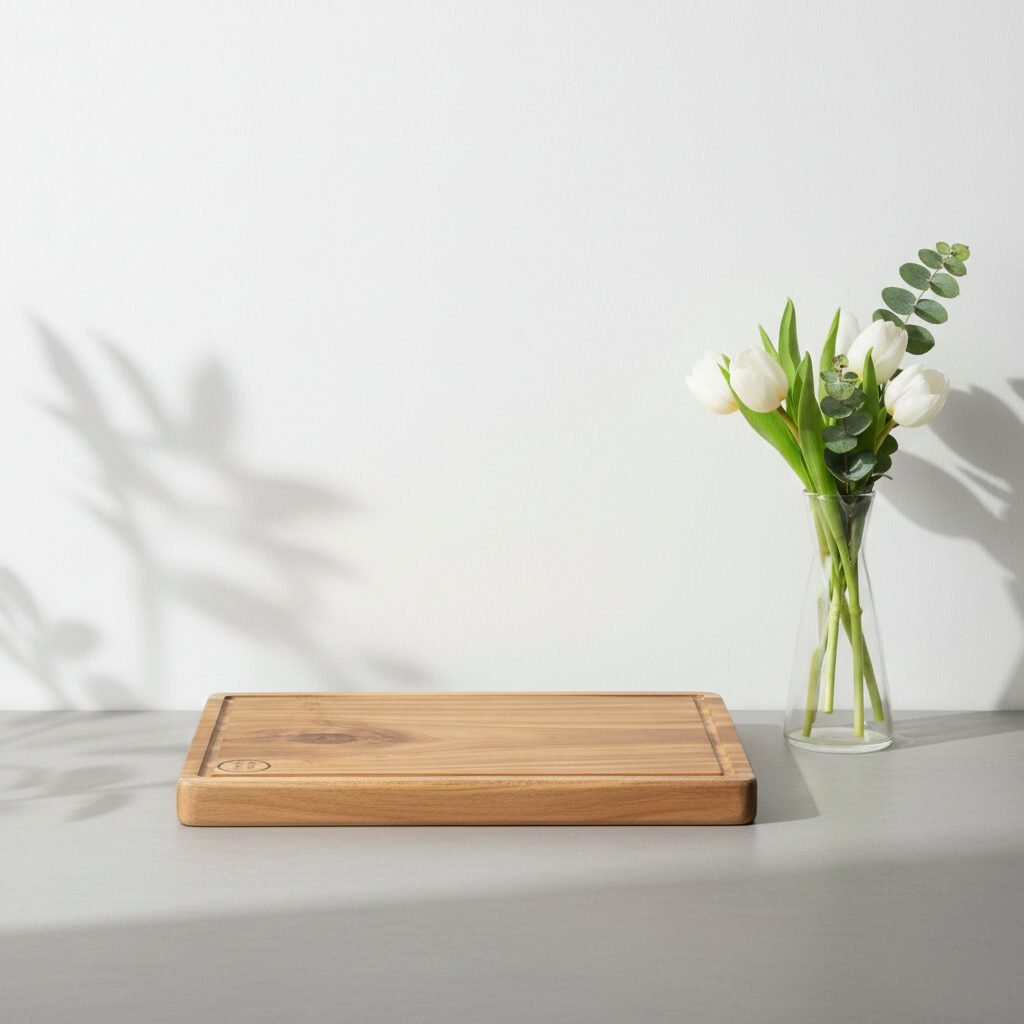
Shop Teak Wood Cutting Boards
Luxury Wooden Chopping boards to match your Beautiful home

