Best Selling Chopping boards
Single Block Teak Wood Chopping Board – Rectangular Edge Grain Cutting Board
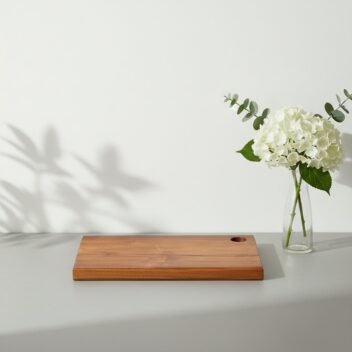
Price range: ₹999.00 through ₹4,499.00Premium Single Block Teak Wood Chopping Board Small
Original price was: ₹1,999.00.₹998.00Current price is: ₹998.00.Large Teak wood Meat Chopping Board
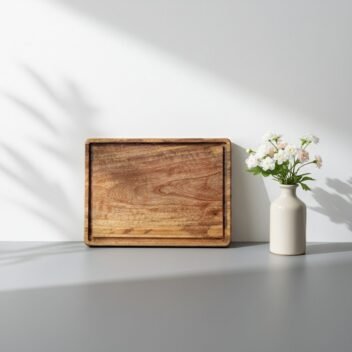
Price range: ₹1,499.00 through ₹4,499.00Premium Single Block PuliMutti -Tamarind Wood Chopping Board – P101
Price range: ₹999.00 through ₹1,499.00Amra Farms Tamarind Wood Butcher Block : Single Block Cutting Board
Price range: ₹799.00 through ₹1,499.00Thin Blank Teak Wood Vegetable Cutting Board
Price range: ₹1,499.00 through ₹4,999.00Amra Farms Premium Single Block Mango Wood Chopping Board – Rectangular
Original price was: ₹2,499.00.₹2,248.10Current price is: ₹2,248.10.Single Block Neem Wood Chopping Board
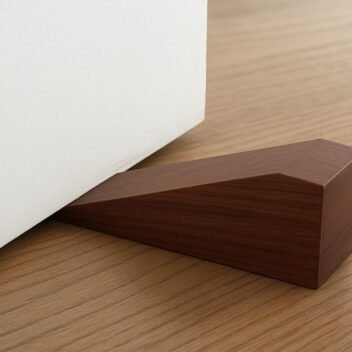
Original price was: ₹1,999.00.₹1,798.10Current price is: ₹1,798.10.Teak Wood Wedge Door Stopper – Handcrafted Elegance for Everyday Use
Original price was: ₹989.01.₹889.11Current price is: ₹889.11.
Wooden cutting boards are very common in the kitchen. They serve you for years. They outlive most other boards like plastic and bamboo, working perfectly well and looking as good as new for decades. Some wooden chopping boards like teak wood chopping boards are known to be used for decades if used well. All you need to do is recondition and resurface your chopping boards once in a while and take care of your board.
Scratches are a common problem in all boards. While steel boards are often resistant to scratches, all other materials face the problems of scratches, scuff marks and stains. While they are tolerated for a few months, eventually it does look disgusting and you will be forced to retire it from its duty. This is a common problem in all boards including wood. But wait. Did you know you can repair, restore and recondition your wooden chopping boards at home and make it look like it’s brand new?
Assess the Damage on Your Wooden Cutting Boards Before Repairing
Most smaller damages can be rectified at home. If the damage is beyond repair, you will know, and it’s usually good to discard a board that is beyond repair. What can be repaired? Scuff marks, scratches, stains. What cannot be repaired? Cracks. What can be repaired by a professional carpenter or woodworker? Smaller cracks, dents and deep gouges. If your board is mostly scratches, scuff marks and stains, get ready to repair them at home. If the board has small cracks or a dent/gouge, find a woodworker. Chances are you can recondition your board professionally. That is in case you really love your board. If the wooden cutting board is not of sentimental value and can be discarded, you should consider discarding a board with cracks and deep gouges. The fact though is that you can recondition most boards. Almost 80% of the boards we see can be reconditioned and made as good as new with an hour’s work.
Back to the topic. Assess your board. See if the knife marks are shallow or deep. Check for dents, stains and scuff marks. Check for the overall condition of the board too. Is it too dry and cracking? This helps you decide if you need a complete restoration or only some light sanding. If it’s only knife marks, you can do with some sanding and a coat of oil to ensure the board is in good condition. In case the board has scuff marks, stains and dents, you may need some extra effort put into it to get it into condition.
Clean Your Wooden Cutting Board Before You Repair Scratches
This is your opportunity to clean the cutting board thoroughly. Yes, you may be a very clean person at home and would have cleaned and washed your board every single time after using it, never left food on them to dry and kept your board dry throughout its use, but this opportunity to clean the board is different. You can clean the board thoroughly. Use lemon salt scrub to try to remove as much of the stains out of the board. Rub thoroughly and wash off with warm water. Use mild soap if required. Now let it dry naturally for at least 4–5 hours in the shade. Let the board stand to ensure it’s well ventilated.
Sanding the Surface to Remove Knife Marks and Scuff Marks from the Wood
You will need an 80–100 grit sandpaper and a 150–220 sandpaper for this process. They are available in most hardware stores and cost roughly around ₹20 per piece. Purchase 2 pieces of each. When you are ready, start sanding the chopping board with the 80–100 grit sandpaper first. This will remove all the deeper knife scars on the board. You may have to do it until you are satisfied that the scars are not visible at all. The board may not be smooth yet, but the scars should be gone. While sanding, always sand with the grain and not across. If you are using an end grain chopping board, ensure that you don’t go too deep. Count the times you sand to ensure they are even on all areas.
When the board has no knife scars, start with smoothing the board with a 150–220 grit sandpaper. This will smoothen your board and give it the finish of a new chopping board. You can do this until the board feels extremely smooth and visibly different. You should be able to run your hands across the board and feel a very smooth surface once done.
Rehydrate and Recondition Your Board with Mineral Oil or Coconut Oil
The final phase is to ensure your board is well hydrated. This requires oiling your board. Use coconut oil, food-grade and organic on your board. Alternatively, you can use mineral oil. Be generous in the application of oil at this stage. Apply at least 2 tablespoons of oil on each side. Massage the oil thoroughly throughout the board. Use a cloth, or you can do this with your bare hands. Ensure the oil seeps in by massaging the board thoroughly. You will see the oil decrease and soak into the board. If needed, do a second application. You may see a lot of excess oil on the board. That’s perfectly fine. Leave the board overnight to let it soak in the excess oil. Wipe off clean the next day and wash with warm water before use.
What to Do for Boards with Deep Gouges, Dents and Cracks
Wooden chopping boards can be reconditioned, even in most extreme cases, but will require some experience in woodworking. A board which is dented will require planing. This takes out anywhere between 1 mm to 5 mm of the thickness of your board. If your board is thick enough, you may want to consider this option. For boards with cracks, you will require that it be glued together with food-grade wood glue. The entire process may take a day for a woodworker. Though the time to repair the damages will take only a few minutes to an hour, the resting time constitutes the remaining time.
Repairing Warped Cutting Boards
Smaller bends and warps can be rectified by placing a heavy object over the board. Ensure that the board is well rested on a flat surface before placing the heavy object on top of the board. I personally prefer a 5-litre pressure cooker filled with water to rest on a board that is warped. Leave it overnight and see significant difference. Some boards may require more than a day, depending on the wood quality and its strength. Teak wood boards are notorious and will take anywhere between 3–4 days to get back in shape even for a small bend, while mango wood boards are easier to get back into shape. In any case, preventing warping is better. Ensure your boards are thick enough and don’t leave your boards wet for too long. This will not only prevent warping but also ensure a longer life for your board.

